Manual.ly Logo

Chicco Baby Hug 4 in 1 Bruksanvisning

0,0 · 0 Betyg

PDF-manual · 112 Sidor

Svenska

M: GO-GEM-FL-25
sida

/ 112

Loading...
c2b283e0701ef547d8f033ee65ada21c6ffd page 10
16
17
CLEANING
Clean the plastic parts with a soft damp cloth. Never use
abrasive detergents or solvents. If the highchair comes
into contact with water, dry the metal parts to prevent
the formation of rust.
MAINTENANCE
• This product requires periodical maintenance.
• Cleaning and maintenance operations must only be
carried out by an adult.
• Periodically check the product for broken, damaged or
missing parts: do not use it in this case.
• To avoid friction that may compromise the correct
functioning of the product, ensure that all the moving
plastic parts located along the metal frame are free of
dust, dirt and sand.
• If necessary, lubricate the moving parts with dry sili-
cone lubricant.
• Store the product in a dry place.
COMPONENTS
The product is completely disassembled when pur-
chased; check that all of the components listed below
are present. If any part is missing contact ARTSANA’s
CUSTOMER SERVICES.
The product and all of its components must always be
assembled by an adult.
A - Height adjustable pedestal frame
A1 - 4 wheels with brakes
B - Seat frame
C - Seat structure
D - Tubular seat frame
E - Fabric (with shoulder straps)
F - Booster cushion
G - Toybar
G1 - Light / sound game buttons
G2 - 3 soft toys
I - Upper fabric zips
L - Plastic clips
M - Height adjustment pedal
N - Backrest recline lever
ASSEMBLY
The product is not assembled when purchased. To use
it, carry out the following assembly operations:
1. The rst thing to do is assemble the “A1” wheels on
height adjustable base frame “A”. To do this place the
frame on a rug or soft surface so as not to damage the
oor or frame. Assemble the 4 “A1” wheels inserting
the pins in the 4 holes under height adjustable base
frame “A” as shown in gure 1.
WARNING: Fully insert the wheel pin into the hole in
the base. At this point the base can be rested on the
oor.
2. Insert the fasteners of seat frame “B” into the respec-
tive tubes on seat structure “C” until they click into
place (Fig. 2).
3. Assemble the seat (seat frame “B” + seat structure
“C”) on the base: insert the two tubes on base “A”
into the corresponding holes on seat frame “B” until
they click into place (Fig. 3).
WARNING: The backrest must face the height adjust-
ment pedal (I) as shown in Fig. 3a.
4. Insert tube “D” into the corresponding holes on seat
frame “B” until they click into place (Fig. 4).
5. To assemble fabric “E” line up the holes on the fabric
with the restraint system installed on seat structure
“C”. Pass the two lateral arms of seat frame “B” through
the side fabric holes (FIG. 5), insert the pins of the
arms into the holes on either side of the backrest (FIG.
5a) until they click into place.
WARNING: Check that both arms are assembled cor-
rectly.
6. Attach fabric “E” using the two perimeter zips above
seat frame “B” (Fig. 6).
7. Pass the crotch strap and waist straps on seat struc-
ture “C” through the holes of fabric “E” (Fig. 7-7a-7b-
7c).
8. Attach the fabric (E) to the bottom of seat structure
“C”, making sure to insert all of the plastic clips in the
right slots (Fig. 8-8a).
BOOSTER CUSHION
9. Reducer cushion “F” is ideal from birth and can be
used or removed as necessary. To attach it to the
seat, place it on the fabric, pass the crotch strap and
waste straps through the holes in booster cushion “F”
(reclined cradle mode), (Fig. 9). In highchair mode it
is also necessary to pass the shoulder straps through
the holes of the booster cushion (Fig. 9a).
TOYBAR
10. The toys can be attached to the toybar by passing the
straps through the plastic openings on the bar (Fig.
10) and fastening the velcro.
11. Assemble the toybar (with the light positioned to-
wards backrest recline lever “N”) inserting the pins of
the bar into the holes on seat frame “B” until it clicks
into place (Fig. 11).
12. To incline the toybar in the three possible positions
press the side buttons (Fig. 12).
13. To remove the toybar press the buttons on the inside
of the bar support and pull upwards (Fig. 13).
WARNING: Always check that the toybar is properly
fastened before using it.
WARNING: To prevent possible injury by entaglement,
remove this toy when the child starts trying to get up
on its hands and knees in a crowling position.
HEIGHT ADJUSTMENT
14. Once assembled, the product can be adjusted to
various heights in all congurations. To adjust its
height, hold down height adjustment pedal “M” (Fig.
14) and lift or lower the seat to the desired height.
ADJUSTING THE BACKREST
15. The backrest can be adjusted to four dierent posi-
tions. To do this, push down on backrest recline lever
“N” (Fig. 15).
Position 1 – Crib mode (Fig. 15a)
Position 2-3 – Reclined cradle mode (Fig. 15b)
Position 4 – Highchair and rst chair at the table mode
(Fig. 15c)
These adjustments can also be made with your child
seated in the product. In this case it will be slightly more
dicult.
WARNING: Always check that the backrest is properly
locked before use.
USING THE SAFETY HARNESS
16. With fabric “E” assembled on seat structure “B”, there
will be a crotch strap, two waist straps and two
shoulder straps (Fig. 16).
17. CRIB MODE - WARNING: Completely remove all
safety harnesses making sure to keep them out of
the reach of your child (Fig. 17).
18. RECLINED CRADLE MODE - WARNING: A 3-point
restraint system must be used: crotch strap + waist
straps (Fig. 18).
19. After placing your child in the seat, reclined cradle
mode, fasten the straps by passing the two prongs
through the crotch strap buckle; adjust the waist
straps so that they t closely around your child’s
waist (Fig. 19).
20. HIGHCHAIR AND FIRST SEAT AT THE TABLE
MODE - WARNING: A 5-point restraint system
must be used: crotch strap + waist straps + shoulder
straps (Fig. 20).
WARNING: In this conguration the toybar must al-
ways be positioned behind the backrest.
21. After placing your child in the seat in highchair
mode, fasten the straps by passing the two prongs
through the shoulder strap buckle (Fig. 21) and then
through the crotch strap buckle (Fig. 21a); Adjust the
height of the shoulder straps so that they correctly
t your child’s shoulders.
Always make sure that the straps are fastened correctly.
To unfasten the strap, press and pull the side prongs.
WARNING: When using the product, always fasten the
straps by inserting them in the crotch strap and check
that they are tight enough and properly fastened.
22. The safety harness straps can be removed (for washing
or for use in the crib/reclined cradle conguration).
To remove the harnesses pull the waist and crotch straps
out from the holes in the fabric (Fig. 22-22a-22b) until
they are hidden on the seat frame and pull the shoulder
straps out from the fabric holes on the backrest (Fig. 22c
-22d). After removing the safety harnesses, make sure
that the harnesses are correctly re-assembled.
To re-assemble the safety harnesses, carefully follow the
steps below:
23. Follow point 7 of the ASSEMBLY paragraph to re-
assemble the waist straps and crotch strap. For the
shoulder straps, pass the strap through the hole as
shown in Fig. 23, making sure that the length adjust-
er is positioned as shown in the gure.
Take the plastic hole of the shoulder straps and pass it
through the fabric ring of the harness (Fig. 23a).
Having performed this operation correctly, pull the har-

Chatta med din Chicco Baby Hug 4 in 1-manual med hjälp av AI

Få omedelbara AI-svar från din Chicco Baby Hug 4 in 1-manual

Fråga vad som helst om Chicco Baby Hug 4 in 1. Svaren kommer från denna bruksanvisning, med de sidor de bygger på.

Baby Hug 4 in 1 Underhallsschema

Efter varje tvätt
Kontrollera tyg och sömmar

Verifiera tygets och sömmarnas motståndskraft efter varje tvätt för att säkerställa säkerhet.

Visa i manualen (sida 15)
Periodiskt
Undersök för skador

Kontrollera produkten regelbundet för brutna, skadade eller saknade delar och använd inte om sådana hittas.

Visa i manualen (sida 14)
Periodiskt
Rengör rörliga plastdelar

Ta bort damm, smuts och sand från plastdelar som glider på metallrör för att förebygga friktion.

Visa i manualen (sida 16)
Vid behov
Smörj rörliga delar

Använd torr silikonolja på rörliga delar vid behov för att säkerställa korrekt funktion.

Visa i manualen (sida 16)
M: QW-35-FL

Ställ en Fråga

0/1000

Rekommenderar du Baby Hug 4 in 1?

Ja Nej

Vanliga frågor

A

Den kan användas från födseln i spjälsängs- och lutad vagga-läge upp till 9 kg, och sedan från cirka 6 månader i barnmatstol- och första stol-läge upp till 36 månader och 15 kg.

Är detta svar till hjälp?

A

Nej. Den lutade vaggan är inte avsedd för långvarig sömn. Om barnet behöver sova längre bör en riktig spjälsäng eller säng användas i stället.

Är detta svar till hjälp?

A

Ja. Lekbågen kan monteras på eller tas bort vid behov. I barnmatstolsläge måste den alltid vara placerad bakom ryggstödet av säkerhetsskäl.

Är detta svar till hjälp?

A

Tyget ska endast handtvättas i kallt vatten. Blek inte, torktumla inte, stryk inte och kemtvätta inte. Kontrollera sömmar och tygens skick efter tvätt.

Är detta svar till hjälp?

A

Ja. Alla fyra hjulen måste vara låsta när produkten används för att hjälpa till att hålla den stabil och minska risken för rörelse eller tippning.

Är detta svar till hjälp?

A

Kontrollera att alla delar är korrekt monterade, att låsmekanismerna är aktiverade, att selen sitter rätt och att ingen komponent är trasig, sönderriven eller saknas.

Är detta svar till hjälp?

M: GO-GEM-FL-25

Fördelar och Nackdelar

Fördelar

  • 4-i-1-designen växer med barnet från födseln till 36 månader.
  • Justerbar höjd och ett lutningsbart ryggstöd stödjer olika vardagsrutiner.
  • Avtagbar lekbåge med ljus och ljud ger underhållning i de tidiga stadierna.
  • Tvättbart, avtagbart tyg och selefästen förenklar rengöring och skötsel.
VS

Nackdelar

  • Lägesbyten kräver noggrann montering av vuxen och regelbundna säkerhetskontroller.
  • Produkten måste alltid användas med rätt fasthållningssystem.
  • Spjälsängs- och lutad vagga-lägena är begränsade till ett relativt kort åldersspann.
  • Batterier och rörliga delar i lekbågen kräver regelbundet underhåll och uppmärksamhet.
M: GO-GEM-FL-25

Produkt Specifikation

Vikt

10,20 kg

Mått (BxHxD)

850x880-1220x600 mm

Funktioner

höjdjusterbar, kan omvandlas till barnstol, melodifunktion

M: GO-GEM-FL-25

Produkt Beskrivning

Chicco Baby Hug 4 in 1 liggvagga: En smart stol för de första tre åren

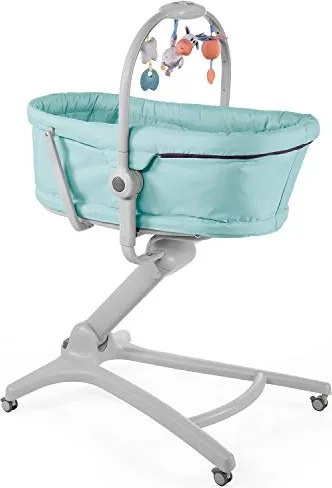
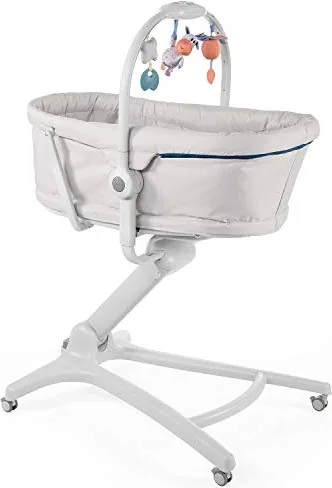
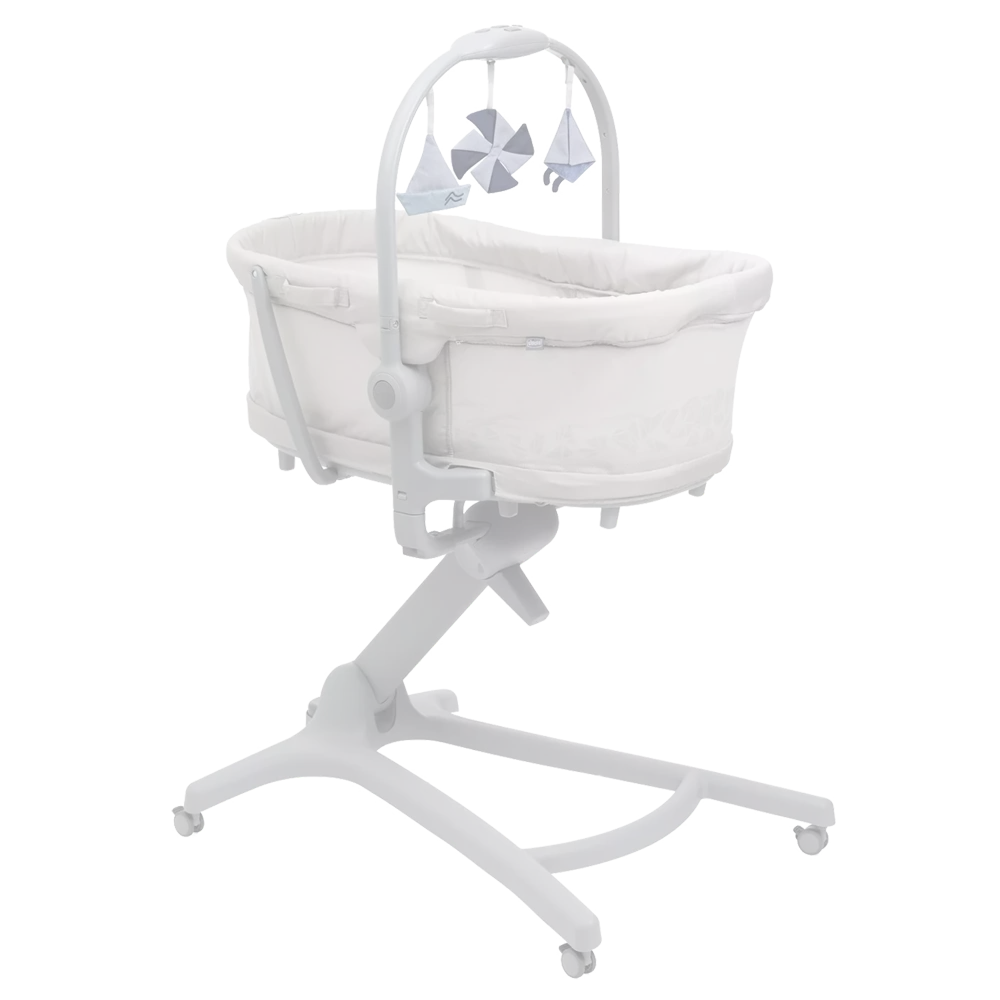
Chicco Baby Hug 4 in 1 liggvagga utmärker sig som en mångsidig barnrumslösning som följer barnet genom flera tidiga stadier med överraskande lätthet. Från de första dagarna hemma till småbarnsåren kan den användas som spjälsäng, lutad vagga, barnmatstol och första stol vid bordet. Den flexibiliteten gör den attraktiv för föräldrar som värdesätter kompakta lösningar utan att tumma på komfort eller funktionalitet.

I spjälsängsläge erbjuder den en mysig viloplats för nyfödda upp till 9 kg, medan det lutade vagg-läget ger familjer en bekväm plats för övervakad vila under de första månaderna. Senare, när barnet kan sitta självständigt, övergår produkten till barnmatstol och första stol som passar för måltider och vardagliga familjestunder upp till 36 månader och 15 kg. Resultatet är en enda babyprodukt som anpassar sig efter förändrade rutiner i stället för att stå oanvänd efter några månader.

Designen fokuserar också på bekvämlighet. Ett justerbart höjdsystem hjälper sätet att anpassas till olika möbler, och ryggstödet kan lutas i flera positioner för att matcha den avsedda användningen. En avtagbar lekbåge med ljus, ljud och mjuka leksaker ger en engagerande touch, särskilt i de tidigare stadierna. För många föräldrar blir Chicco Baby Hug 4 in 1 liggvagga manual användbar här, eftersom den förklarar hur man växlar mellan lägen på ett säkert sätt och får ut det mesta av varje konfiguration.

En annan styrka är den vardagliga skötseln. De avtagbara textildelarna, säkerhetsselarna och lätt rengörbara ytorna gör den mer lätthanterlig för upptagna hushåll. Produkten är också byggd med starkt fokus på stabilitet och tillsyn, och påminner vårdnadshavare om att låsa hjulen, kontrollera låspunkterna och använda rätt fasthållningssystem för varje läge. Dessa detaljer är viktiga eftersom en multifunktionell produkt ska kännas lika säker som den är praktisk.

Anmärkningar

  • Passar bäst för föräldrar som söker en långvarig, platsbesparande lösning.
  • Följ alltid monteringsstegen noggrant före varje lägesbyte.
  • Regelbunden kontroll och korrekt rengöring hjälper till att bevara prestanda och utseende.
  • Lekbågen är rolig för yngre bebisar men bör tas bort när barnet blir mer rörligt.
M: GO-GEM-FL-25

© Copyright 2026 Manual.ly